Scanner Configuration
We’re pretty sure that all scanners work with StockSavvy, but it’s just a matter of configuration. Shopify recommends a scanner, and many of our customers use it. It’s the Socket SocketScan S700, and here’s the instruction manual for it. We’re not experts, but here’s what ought to work:
- First unpair (“Forget this Device”, as opposed to “Disconnect” on iPad Bluetooth settings) the scanner from your desktop computer/laptop/tablet.
- Scan the code on page 25 to do factory reset, which puts scanner into Basic mode (or just follow those steps). Note that with new scanners (S700), the factory reset puts it into iOS mode (not what we want), so if you have the new scanner model, you should scan the code on page 21 for iOS Basic Keyboard Mode (the Android and Windows Basic Keyboard Mode are actually the same thing, not sure why the instruction manual splits them out).
- Pair the scanner with your desktop computer/laptop/tablet. Then it should work with StockSavvy!
Note that in Step 1 if you have multiple tablets or phones or whatever else could have Bluetooth, the scanner may suddenly jump and get paired with another one, and then it won’t change to the right mode in Step 2. So, make sure all other devices around you have Bluetooth turned off.
Some people use their scanner with Shopify POS, and to use it with that, just switch the scanner back into iOS mode (do steps above, except when you’re on step 2, scan barcode on page 21 instead of page 25).
With other scanners, the general strategy is the same. You’ll have to unpair scanner, put it into HID mode, and pair it again, and you can probably find out how to do it in the instruction manual. It usually involves resetting the scanner to factory default by scanning one code, then putting it into HID mode (if it isn’t already by default) by scanning another code. If you have a Socket 7Ci (old version of S700), the instructions are here, and you can scan page 21 barcode in Step 2 to put it into HID mode or try scanning barcode on page 23 to factory reset.
Once you’ve configured your scanner, make sure that on the inventory session page the barcode input is active, like in the image below.
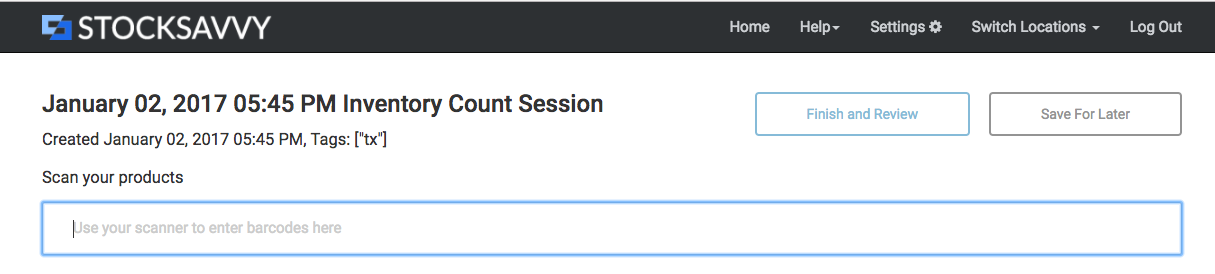
Notice the input is highlighted. It should be active by default whenever you’re on the page, but if it isn’t, just click in the box. Then, simply start scanning, and the items should start populating!
Feel free to contact support by emailing support@getstocksavvy.com if you have further questions. Our mission is to help you keep a sane, accurate inventory. Happy scanning!